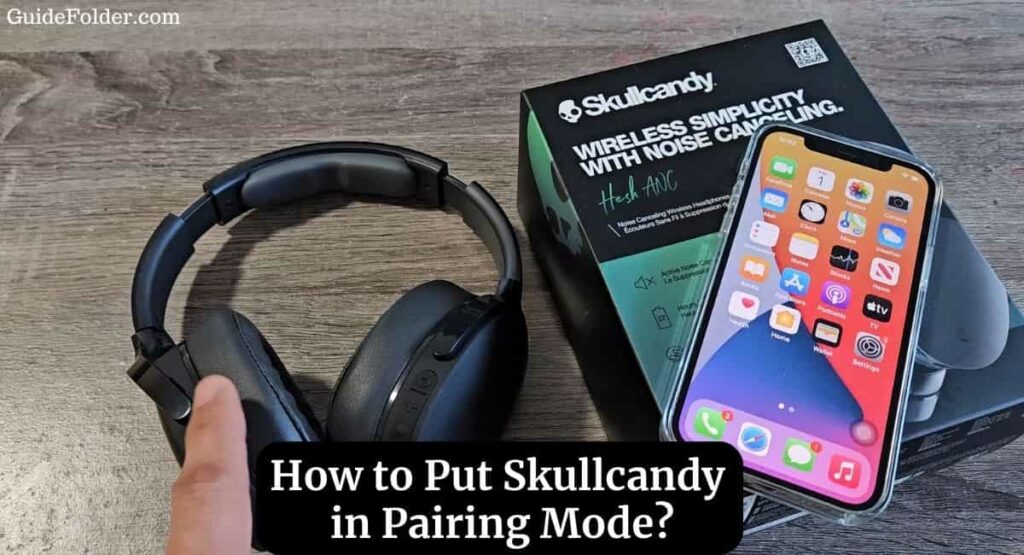
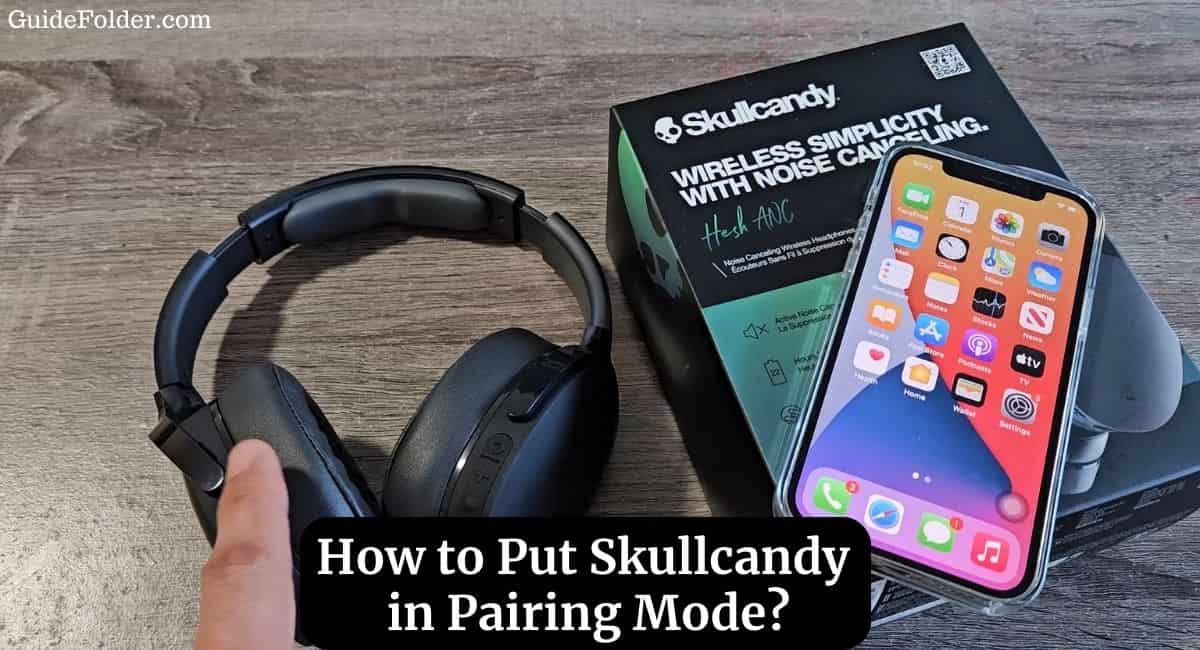
Skullcandy, a renowned brand in audio accessories, offers a diverse range of products, from stylish headphones to compact earbuds. Despite the variety, these devices share common features that make them stand out in the market. Wireless connectivity has become a game-changer. One of the key aspects of this convenience is the ability to put your Skullcandy device in pairing mode.
This article will guide you through the process of How to Put Skullcandy in Pairing Mode. So, keep reading this article for full information.
How to Put Skullcandy in Pairing Mode

If you are wondering to know about how can you put Skullcandy in pairing mode then you have come to the right place. Here, we’ve shared detailed information.
Why Pairing Mode Matters
Pairing mode is not just a technicality; it’s a gateway to an enhanced audio experience. Enabling pairing mode on your Skullcandy device allows it to establish a connection with other Bluetooth-enabled gadgets, such as smartphones, tablets, or laptops. This opens up a world of possibilities, from enjoying music wirelessly to answering calls hands-free.
How to Put Skullcandy in Pairing Mode
Here are the steps to put your Skullcandy in pairing mode –
- Ensure your Skullcandy headphones or earbuds are powered on. If they have a power button, press and hold it until you see the device’s LED indicator flashing.
- Most Skullcandy devices have a dedicated button for pairing. Press and hold this button until you observe a rapid blinking or alternating colors on the LED light. This indicates that the device is now in pairing mode.
- Some Skullcandy models come with voice prompts that guide you through the pairing process. Listen for any instructions or prompts, and follow them accordingly.
- On the device you want to pair with (e.g., smartphone, tablet, laptop), make sure Bluetooth is enabled. Navigate to the Bluetooth settings menu.
- In the Bluetooth settings, look for a list of available devices. Your Skullcandy device should appear in the list. Select it to initiate the pairing process.
- In some cases, you might be required to enter a pairing code. If prompted, refer to your Skullcandy user manual for the specific code or simply enter ‘0000’ or ‘1234,’ which are common default codes.
- Once the pairing is successful, you’ll likely hear a confirmation sound or see a notification on your device. The LED light on your Skullcandy device may also stabilize or stop blinking.
Tips for Successful Pairing
Achieving a smooth pairing experience involves more than just following instructions. Consider the Bluetooth range – ensure your devices are within the recommended distance. Additionally, check for compatibility between your Skullcandy device and the gadget you’re attempting to pair it with.
Wrapping Up
This article is all about How to Put Skullcandy in Pairing Mode. Putting your Skullcandy device in pairing mode is the key to unlocking its full potential. By understanding the process and following the outlined steps, you can enjoy a seamless and hassle-free wireless audio experience. Embrace the future of connectivity and elevate your audio adventures with Skullcandy.
I hope this article was helpful to you. If you still have any questions or doubts then feel free to ask in the comment section. For more information, visit Skullcandy’s Help and Support page.
Read More:
FAQ’s How to Put Skullcandy in Pairing Mode
Most Skullcandy devices support multi-point connectivity, allowing you to connect with two devices simultaneously.
Refer to your device’s user manual for instructions on resetting. This often resolves persistent pairing problems.
While Skullcandy devices are designed to be compatible with a wide range of devices, it’s advisable to check the official compatibility list on the Skullcandy website.
Ensure your device has sufficient battery, and follow the pairing instructions carefully. If issues persist, contact Skullcandy support.
Yes, many Skullcandy devices support “pass-through” charging, allowing you to use them while connected to a power source.

